Lipsync
Create a video
English

Recording guide

Learn how to create a lip sync video that feels in time

Start with a short, clear audio clip and decide whether you will perform to it on camera or animate a face afterward. A convincing lip sync depends less on elaborate effects than on visible mouth movements, steady playback, and a careful timing check at the end.

Partner workflow: Vidione creates paid talking-avatar video from a photo, script and voice, or a single AI video shot after sign-in and subscription. It cannot change the speech or lip movements in an already recorded video. These links transfer no footage or prompt.

Describe your scene

Vidione generates a talking avatar from a photo, script and voice after sign-in and subscription; it does not re-dub existing video. This guide transfers no footage or prompt.

Free to start · no signup Create a talking avatar
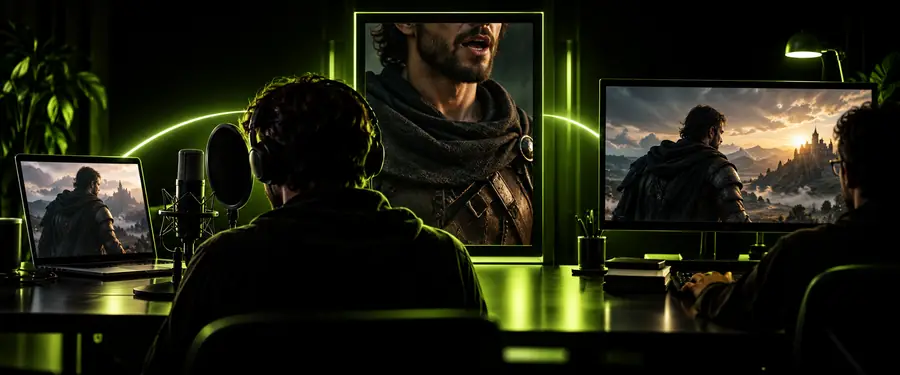
Lipsync landing-page video imagery

Your starting material determines which part of the workflow deserves the most attention.

On-camera creator

You have a spoken line or song excerpt and will film yourself performing to playback. Put the playback close enough to hear without letting it drown out your performance cues.

A stable face shot gives you clear mouth shapes to align with the chosen audio in the edit.

how to practice lip sync for interview

Interview editor

You need a short on-camera response to look natural. Rehearse the pauses and stressed words, not just the opening syllable.

A practiced take leaves fewer mismatched breaths or abrupt mouth closures to repair later.

how to practice lip sync for interview

Character animator

You have recorded dialogue and a rigged face instead of live footage. Identify the sounds that need visibly different mouth poses.

Focused pose changes make the line readable without moving the mouth on every tiny sound.

how to make lip sync in blender

3D scene maker

Your character turns or moves while speaking. Check the dialogue with the camera at its final angle; a mouth pose that works head-on can disappear in profile.

Reviewing the actual shot helps you catch unreadable speech animation before rendering.

how to make lip sync in blender

numbered steps

Work in this order so that changes to the audio do not undo your timing work.

Prepare one clean audio segment

Pick a short phrase with a definite beginning and ending. Trim unwanted silence, but keep natural breaths and pauses that explain the performance. Listen for prominent consonants, especially closed-lip sounds such as p, b, and m. Those moments provide useful visual checkpoints. If you are filming, rehearse while playing the exact segment you intend to use; a different recording may have different pauses even when the words match.

Capture or prepare the face

For a filmed take, keep the speaker well lit, the mouth visible, and the camera steady. Play the audio while recording and perform the words rather than merely opening and closing your mouth. Record another take if the opening is late or a pause feels forced. For animation, prepare mouth poses and a face angle that makes them readable. Keep expressions subtle enough that the speech shapes remain visible.

Align, review, and export

Place the intended audio beneath the footage or animation. Match the first clear mouth movement to its sound, then check a closed-lip consonant near the middle and another cue near the end. If the beginning matches but the ending drifts, inspect playback speed and edits before shifting the entire clip. Review once with sound and once at reduced speed, then watch the exported file: the final render, not the timeline preview, is what viewers will see.
common errors and fixes

Fix the cause of a mismatch before adding effects. A precise opening alone cannot rescue timing that drifts later.

An unclear mouth cannot be recovered from timing alone

A face turned away from the camera, hidden by hair, or recorded in deep shadow gives you too little visible information to judge the lip sync.

WorkaroundChoose a clearer take or change the angle and lighting before recording again. For animation, test the mouth poses from the shot camera.

A single timeline shift cannot correct gradual drift

When the start lines up but the last words do not, moving the whole clip only transfers the error to a different point. The source performance and audio may have different pacing.

WorkaroundCheck whether the audio or video speed changed. Where the edit allows it, correct individual sections at natural pauses.

Generated motion is not proof of exact speech timing

A video-generation workflow may produce plausible talking motion without matching every consonant in a specific recording. Results also depend on the source face and the available controls.

WorkaroundCompare the output with the original audio, especially at closed-lip sounds, and revise the source or edit if needed.

This workflow does not grant rights to a voice or likeness

Synchronizing a face to audio does not give you permission to use someone else's recording, image, or identity. A technically convincing result can still be misleading.

WorkaroundUse material you own or are authorized to use, and make the context clear when a performance is edited or synthetic.

advanced tips

Once the main line is aligned, judge the result as a performance rather than a sequence of perfectly matched frames.

Check the source

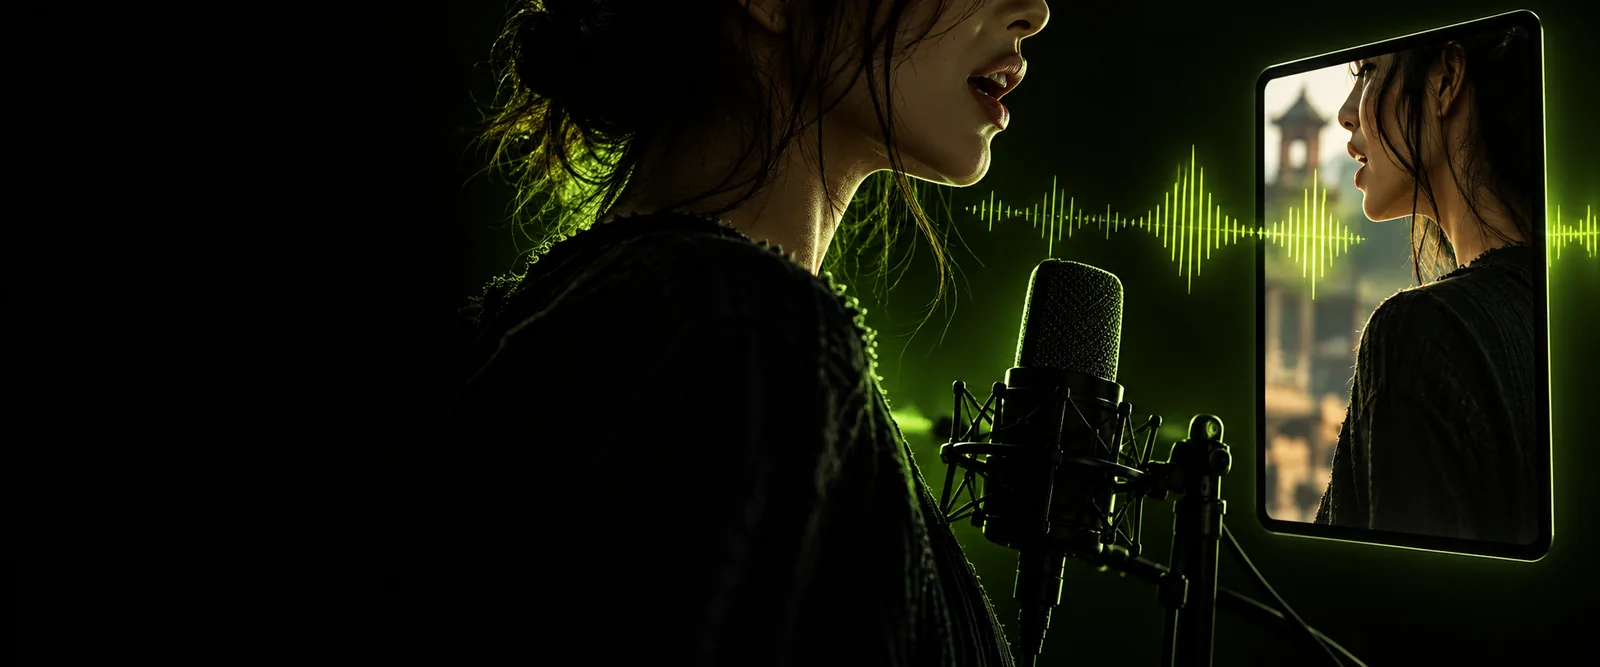
Illustrative lip-sync video scene
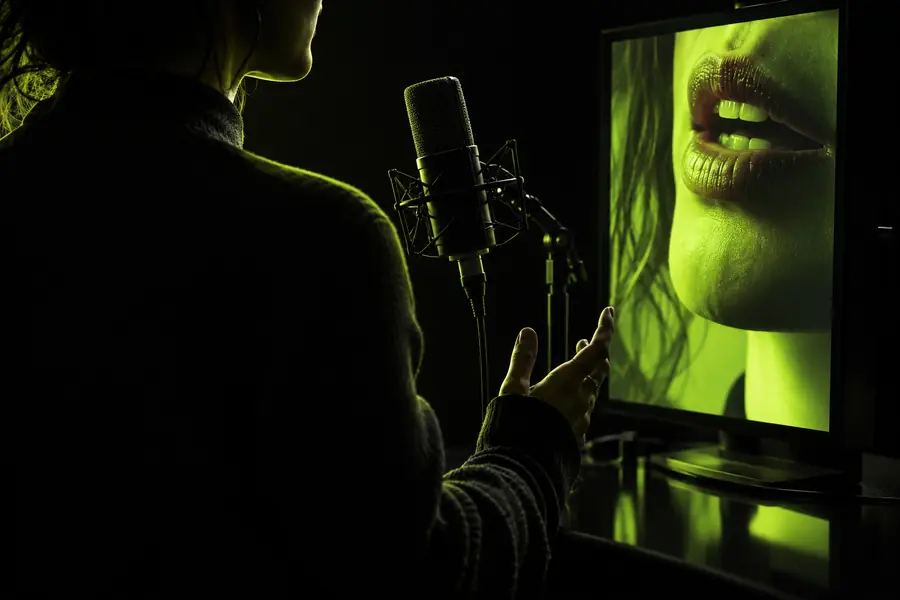
Illustrative video dubbing scene
Review the result

These images illustrate a review workflow; they are not verified before-and-after frames of the same clip. Give extra attention to the first word after a pause, where a late mouth opening is easy to notice. Preserve small head movements and expressions if they suit the voice. Finally, listen through headphones and inspect the exported video, since a smooth preview does not guarantee the saved file has the same timing.

Put the plan into motion

Start with a short line you can review closely. Whether you film a performance, animate a character, or explore a video tool, keep the original audio nearby and check several points across the finished clip rather than trusting its first second.

  • Use audio and likenesses you have permission to use.
  • Keep the mouth visible at the moments you need to judge.
  • Review the exported result with its intended soundtrack.

tutorial FAQ

Choose an audio segment, record yourself performing to that exact playback or prepare a face for animation, and align the visible mouth movements with the sound. Check clear consonants near the beginning, middle, and end, then review the exported video before sharing it.

Have the final audio segment, a camera position that shows the mouth, and lighting that keeps the face readable. Rehearse the pauses as well as the words, because natural timing is harder to repair than a small offset at the start.

The filmed performance may have a different pace from the chosen audio, or one track may have been sped up or slowed down during editing. Check the track speeds and compare several moments before moving the whole clip; a global shift cannot fix progressive drift.

Closed-lip sounds such as p, b, and m are useful because the lips should visibly meet. Use them alongside the start of a phrase and a later pause, rather than judging the entire performance from a single frame.

Only if you have the necessary permission or another valid basis to use the material. Lip sync editing changes how a person appears to speak, so avoid presenting an edited or synthetic performance as a genuine statement.

Create a video
Create a video